Updating your plugins can add new features to the plugin and when a new server JAR is available, it is good to update your plugins to ensure they continue working without errors. In this guide we will go over how to update plugins using the Multicraft control panel.
Updating Your Plugins
- Log into Multicraft.
- Stop your server.
-
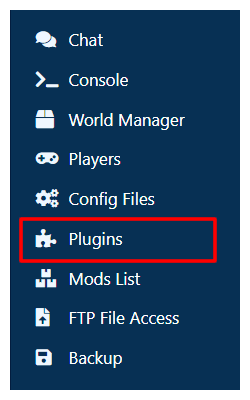
In the side menu on the left, select
Plugin Listfrom theFilessection.

-
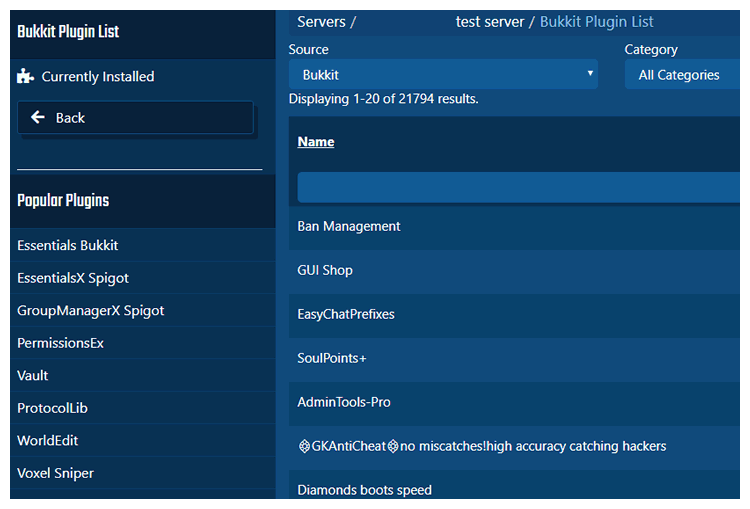
In the side menu on the left, click
Currently Installed.

- Find the plugin you would like to update in the list. If you know the name of the plugin you use the text box above the list to search for it directly. Make sure to hit enter after having typed something into the box to search.
- Click on the name of the plugin you want to update. This will open a more detailed page about that plugin.
-
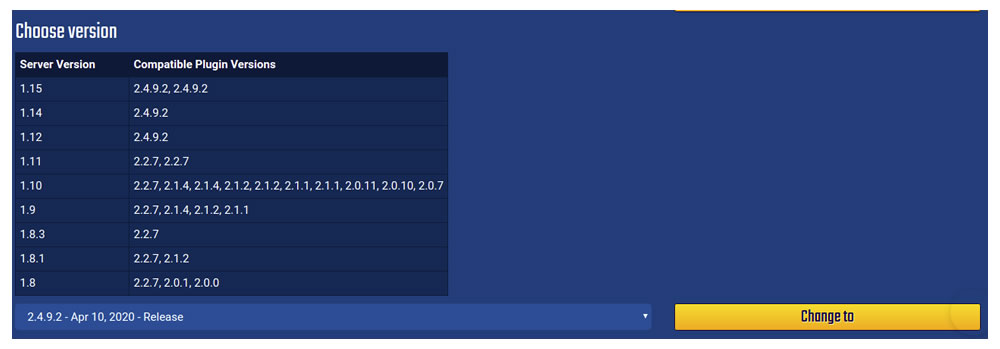
Determine what new version of the plugin you would like to install.
STICKY NOTE

Make sure the plugin is compatible with your server version otherwise it may not work correctly or may not work at all.
- In the dropdown selection at the bottom of the page, pick what version you want to install.
-
Click the
Change tobutton to the right of the dropdown to have your changes take place.

-
Click the
Backbutton only once if you want to update more plugins, or continue pressing it until you reach the main page if you are done updating plugins. - Start your server.
Further Reading & External Links
StickyPiston Support
If you have questions about this guide or our Minecraft services, open a support ticket and our dedicated team will be in touch.
Open Support Ticket
 US Multicraft
 EU Multicraft
 Aus Multicraft