 US Multicraft
 EU Multicraft
 Aus Multicraft
You can upgrade and downgrade your server from our billing system whenever you run out of RAM or Player Slots
Here's how you upgrade and downgrade your server
- Login into the Client Area https://stickypiston.co/account/clientarea.php
- Click Services on the navigation bar https://stickypiston.co/account/clientarea.php?action=products
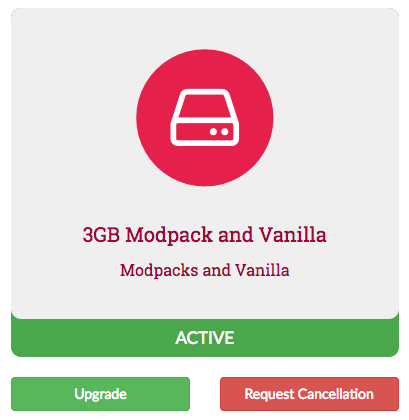
- Click the server name in the Product/Service list
- Click the Upgrade button
- Choose the amount of memory billing period you'd like to upgrade or downgrade to
- Click continue, then pay with either PayPal or your debit/credit card
- Once the order is complete your servers memory will automatically be upgraded
Upgrades are automatic, you will receive an email with the instructions once you have complete the order.
When your server is upgraded no files will be altered, only the memory setting in the control panel.
To assign the memory to your server you will have the restart your server by clicking the restart button on your server page.
Billing
If you're upgrading then you will need to pay a little more for the current billing period. This will be the difference between the current monthly cost and the upgraded server monthly cost but only for the fraction of the remaining billing period. Expressed as a formula, this is:
(Monthly cost of Upgraded Server - Monthly cost of Current Server) * Days remaining in billing period / Total days in billing period
(£19.44 - £12.95) * 12 days / 30 days = £2.59
Outstanding Invoice: Why You Can't Upgrade or Downgrade Your Server
If you encounter an issue when attempting to upgrade or downgrade your server and notice that there's a due invoice, it’s because the billing system does not allow changes to your server configuration while an invoice is outstanding.
This restriction helps ensure accurate billing and account management.
How to Resolve This Issue
There are two ways to address this and proceed with upgrading or downgrading your server:
1. Request a Upgrade/Downgrade via support
- Open a support ticket with us and request to upgrade or downgrade your server to a different plan.
2. Pay the Outstanding Invoice
- Settle the invoice that is currently due.
- Once the payment is processed, you can downgrade or upgrade your server as needed. If you downgrade the difference will be credited to your account and can be applied to future invoices or purchases.
Why Does This Happen?
Our billing system is designed to prevent overlapping or conflicting invoices. By ensuring all dues are settled before server changes, we maintain a smooth and transparent billing process for your account.
If you have further questions or need assistance, feel free to contact support — we’re here to help!
