 US Multicraft
 EU Multicraft
 Aus Multicraft
The StickyPiston Multicraft panel allows you to have up to three servers for the price of one, this article will explain how to install a new one.
Installing a New Instance:
- Log into Multicraft.
-
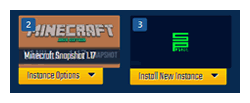
Click
Instance OptionsthenReinstallin the Instance Manager to change an existing instance, orInstall New Instanceto install in an empty instance.
-
Search through the StickyPiston catalog to find a minigame, modpack, or world preset to install.
- Certain server types require more RAM to run smoothly.
- If you want an optimal experience, click the box next to
Limit by RAM - You can upgrade your RAM here: Upgrading and Downgrading Your Server Memory
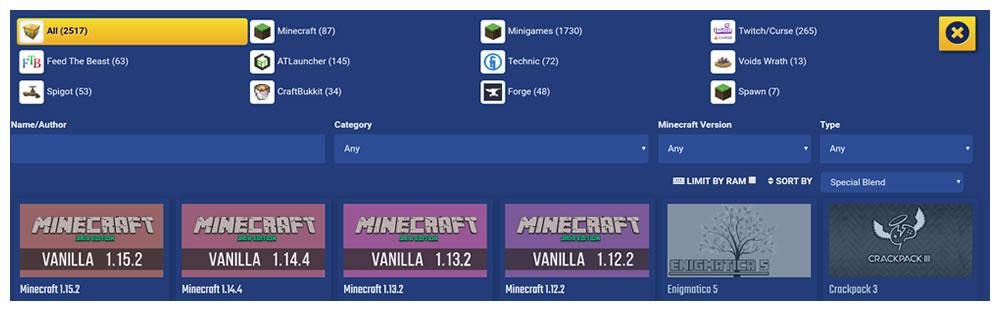
- Click the version you want to install.
-
Click the green
Installbutton. -
Type
confirmor clickInstallin the popup that appears. - When you are ready to play on the server, you can follow our guide on how to activate the instance
Further Reading & External Links
- Multicraft Login Problems
- Upgrading and Downgrading Your Server Memory
- How to: Change Your Active Instance
StickyPiston Support
If you have questions about this guide or our Minecraft services, open a support ticket and our dedicated team will be in touch.
Open Support Ticket
